
Club 500 Building
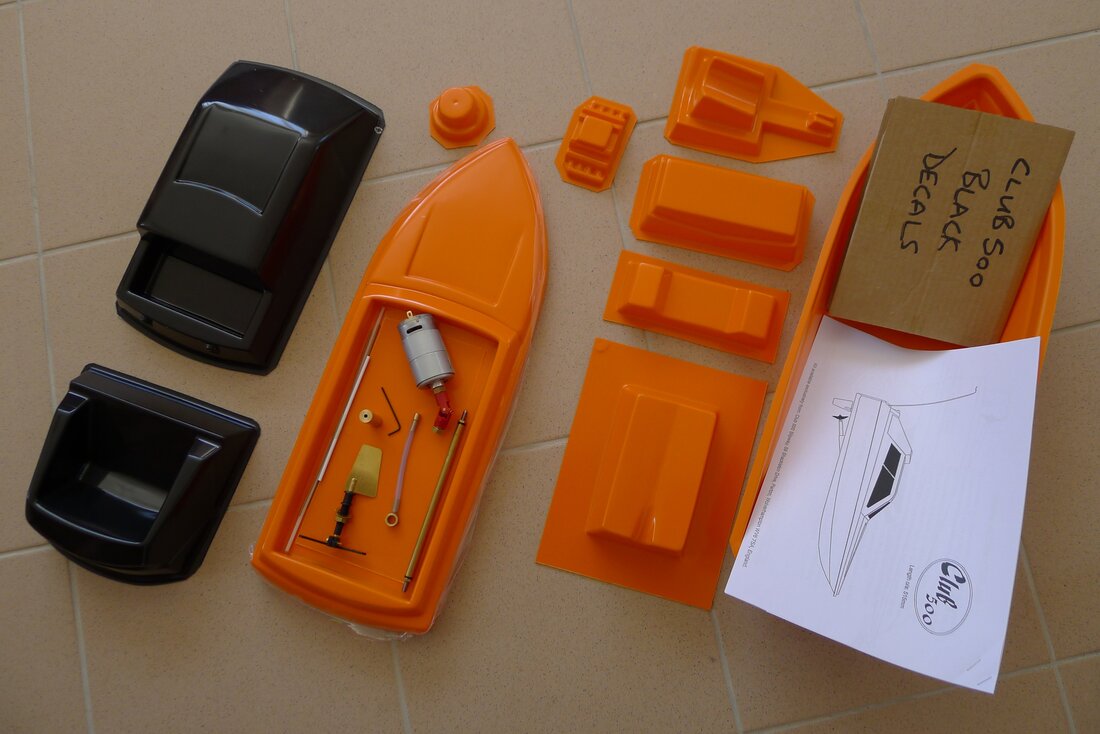
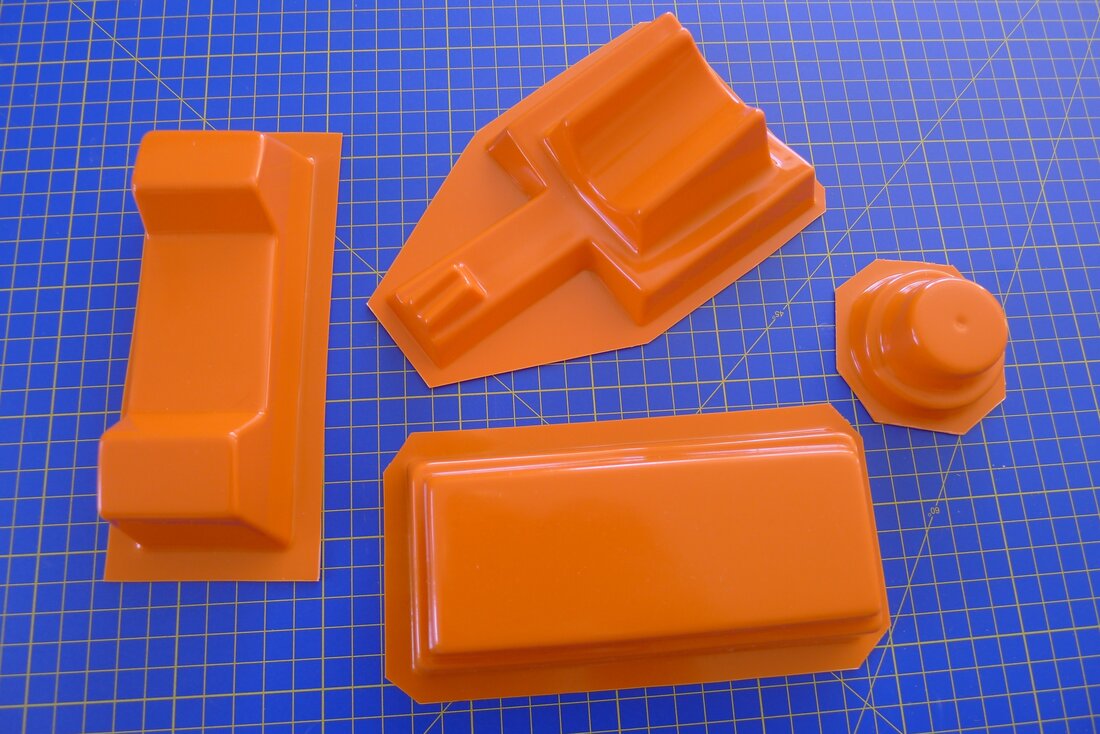
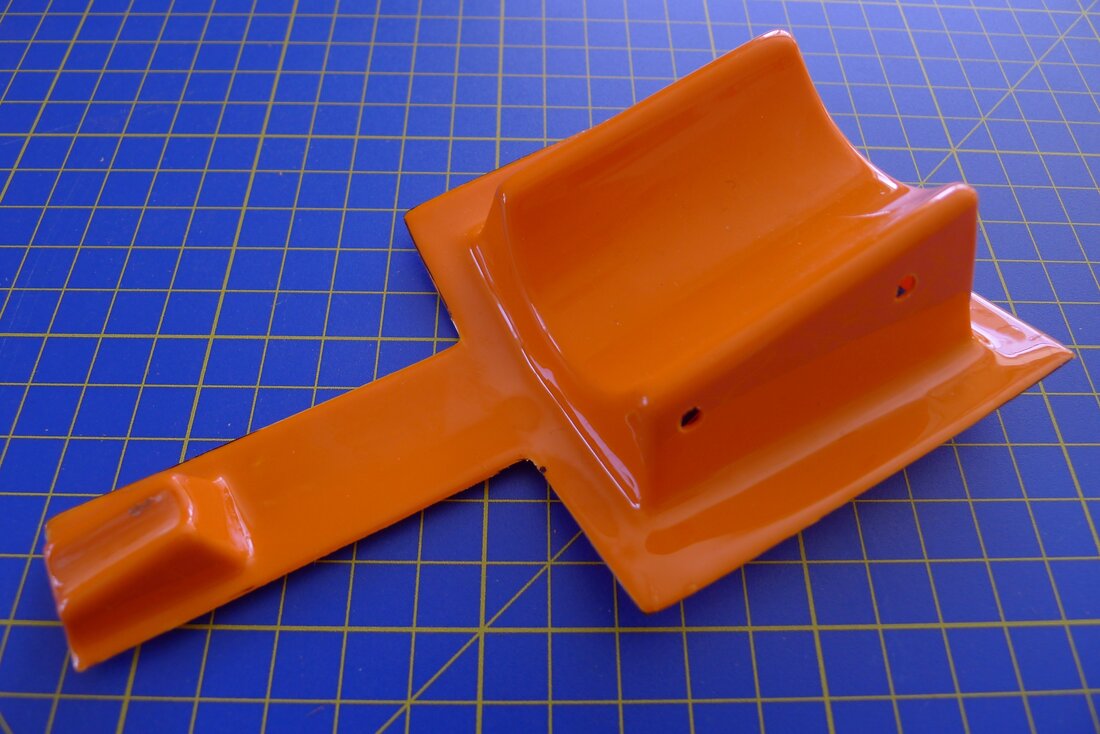
A Club 500 kit arrives as a fair number of vacuum formed plastic bits and some hardware. While cutting the vac formed plastic may seem initially daunting it is soon obvious that the cuts are in such a position to enable the waste plastic to be removed easily and the final size to be achieved with a rubbing down with some abrasives. This particular example, is a mixture of a few spares to give you the idea however the colouring split of the parts is slightly different to those shown with the deck, cabin and wing all being purchased together in one colour and the hull, internal fittings and stand being purchased together in another colour. As you can see the motor, rudder assemby, shaft and tube and all the internal supports are included.
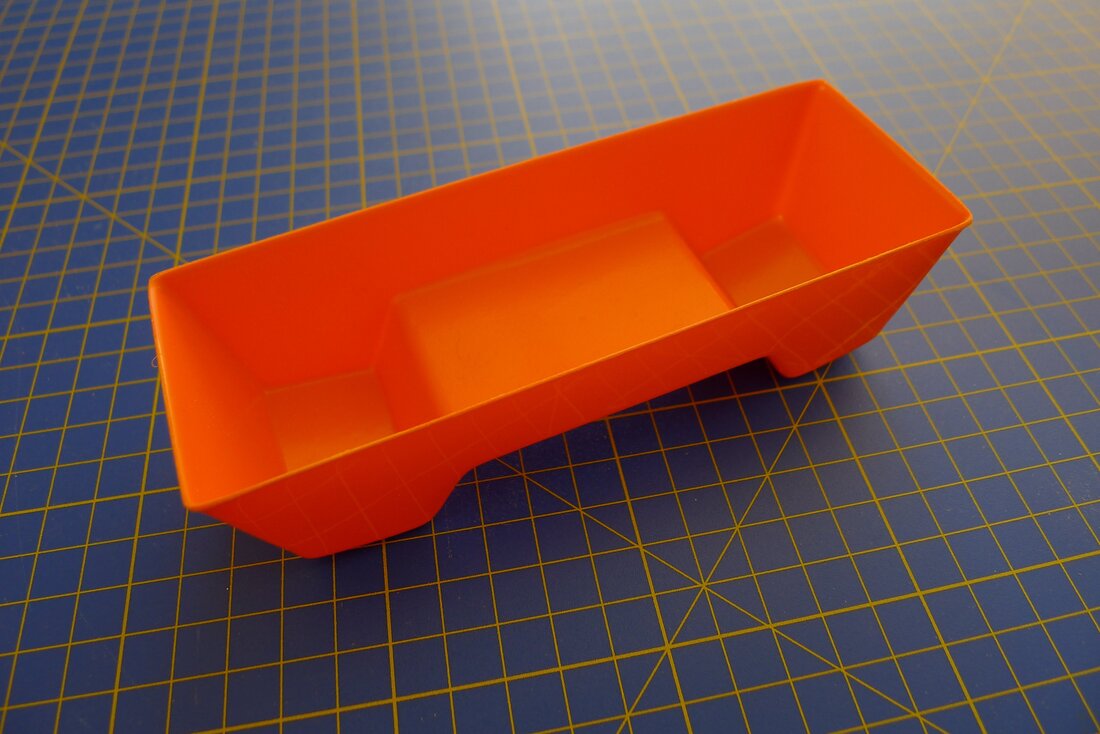
Despite the fact that the boat has to be built from the supplied parts and the major components must be placed as per the plan there is still a degree of individuality possible as we shall see. The first jobs however are to prepare the lower hull and fit the main structural components into it.
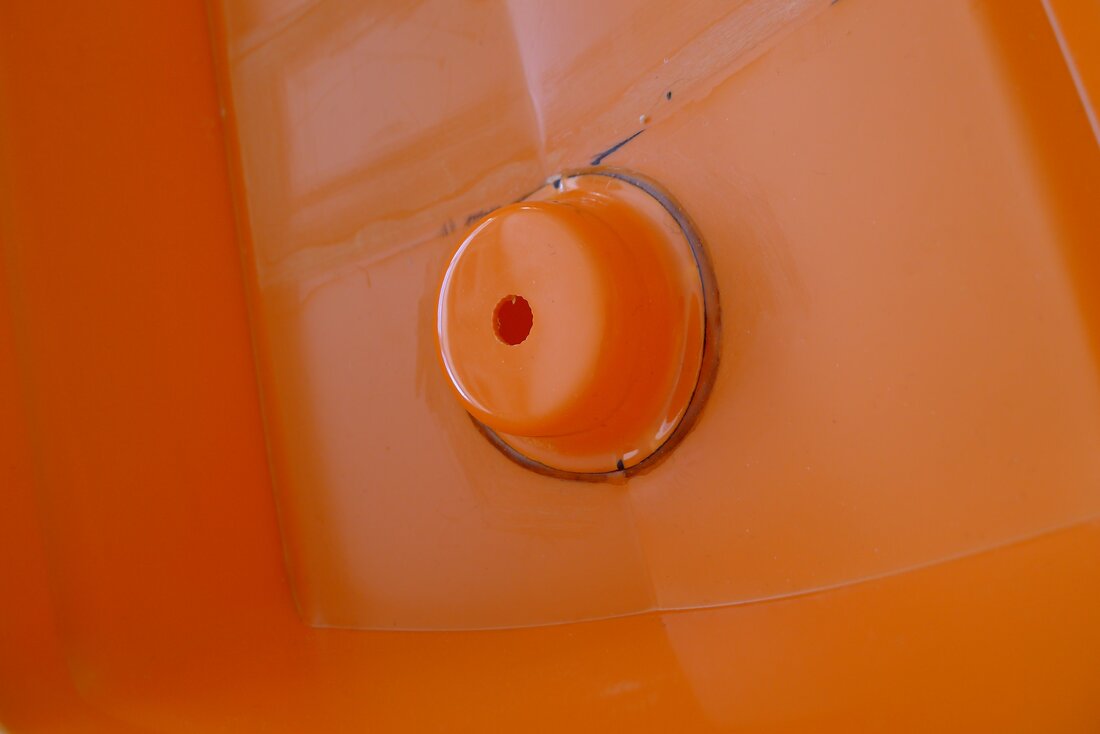
Once you have trimmed the upper edge of the hull you can turn your attentions to the internal parts and get them ready to fit. First up is drill a hole for the rudder, trim the rudder post support and drill the hole in that.
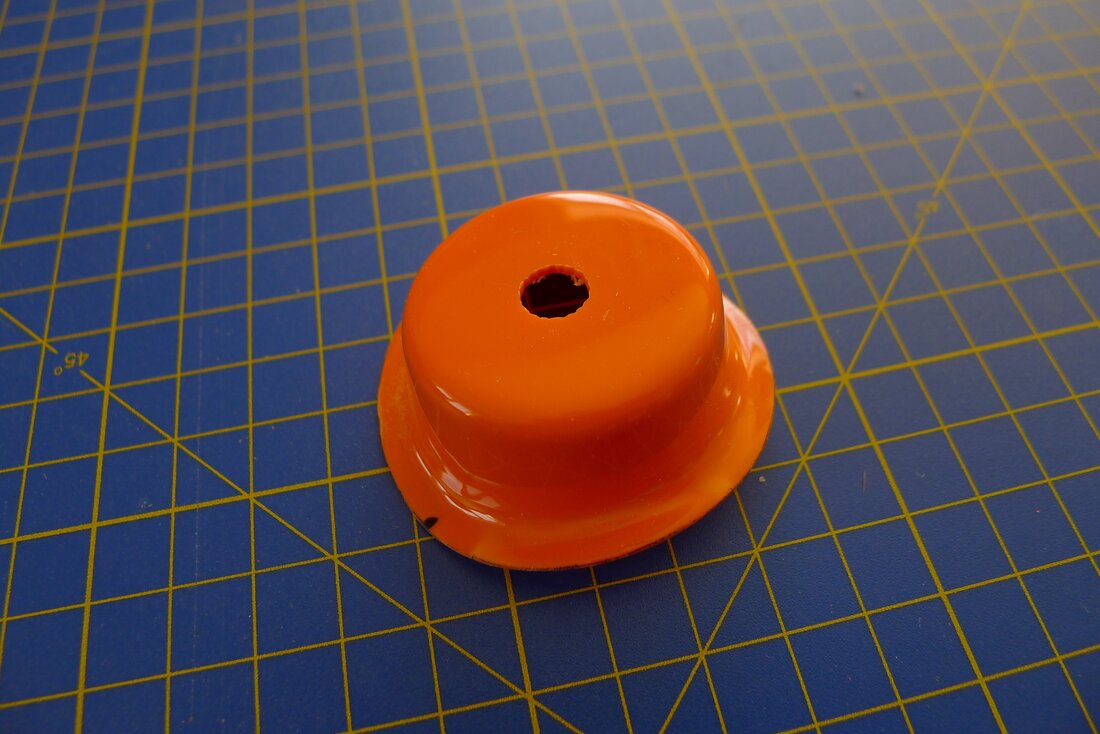
This then enables it to be be fitted in place.
The instructions suggest a two part epoxy glue after roughening up the surfaces to be bonded, which does hold the parts together but they can be parted by force and, as the hull does have a degree of flexibility, this could be a concern. Experimentation however has shown that simply polystyrene cement in either liquid or gel form makes a very strong bond as it dissolves the surface of the plastic. The position of the motor mount is the most critical and I would suggest that the motor alignment tool accessory is used to get this as perfect as possible. The shaft must be at the correct angle to give you no more than 2mm clearance at the tip of the propeller to the hull as well as the 40 to 45 mm extension of the shaft tube outside the hull with the motor and shaft in perfect alignment. This will give you the location for the motor mount, which can then be glued in place.
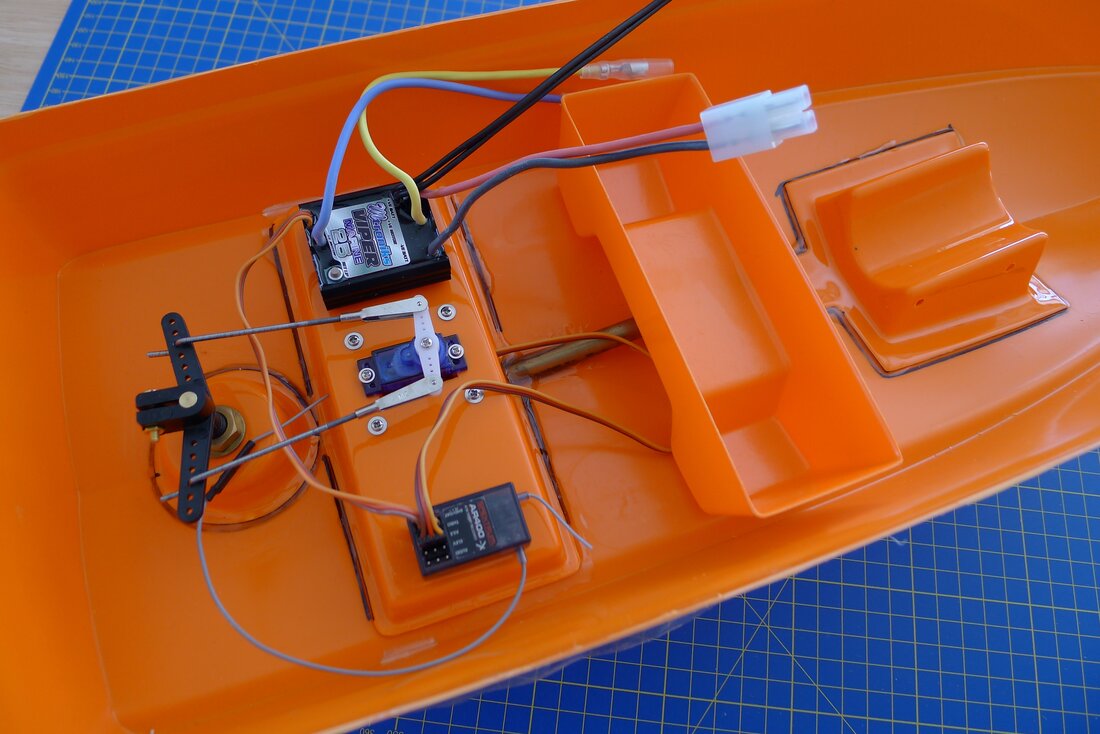
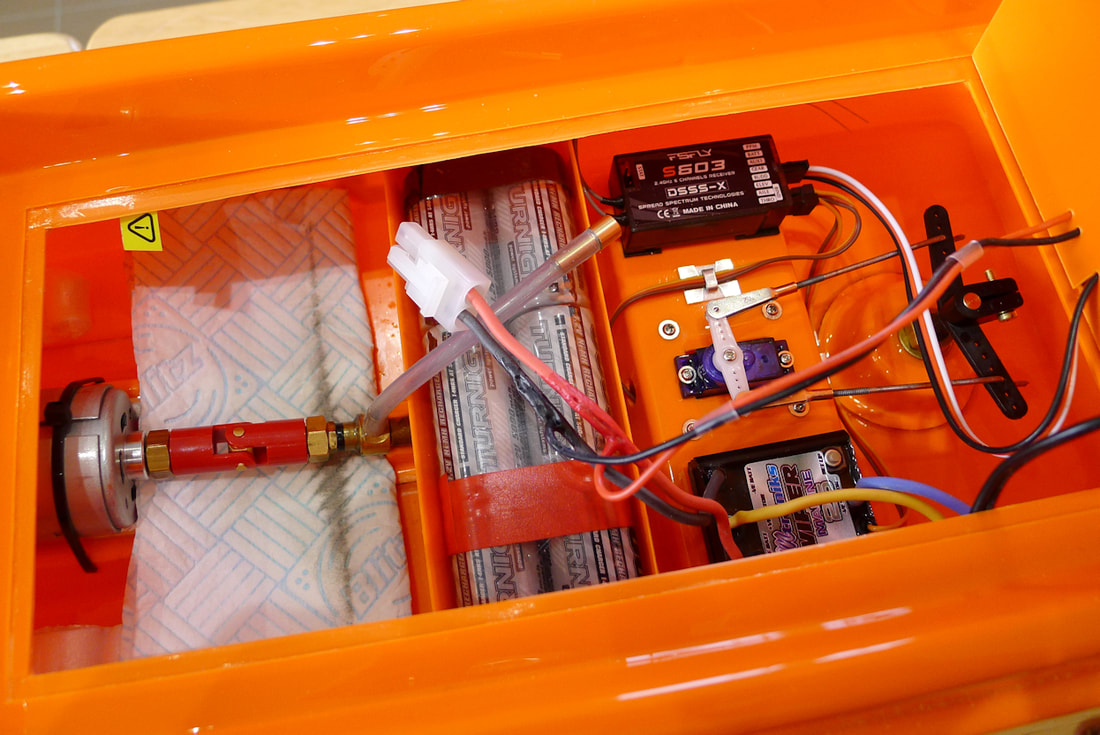
The radio tray probably allows you the most flexibility as you can link up to the rudder to the servo as you prefer and you can even decide whether you want to use a speed controller, a relay or even a servo to operate a simple on-off switch for motor control. The instructions actually show three different wiring arrangements so you can select one or even come up with your own as long as it remains within the rules. The relay switch option might seem like an attractive possibility initially however when it gets a bit crowded around buoys and you want to slow down without actually stopping you might decide that a speed controller is a better option. I went with a solid state speed controller and a push/pull rudder arrangement from a mini servo, which was mounted on two wooden beams glued to the underside of the tray. This gave a fairly neat and tidy arrangement with good access for maintenance and future parts replacement.

The position of the battery tray is determined from the layout drawing and taking into account if you have decided to fit a tube oiler, allowing suitable access to that. Some modellers like to use velcro here for fixing the battery tray to allow a degree of trim adjustment for varying conditions however I am not sure the benefits outweigh the possibility of the battery coming adrift during a race.
Once all the internal components have been fitted you can test the rudder operation, fit the motor and tidy up the wiring.
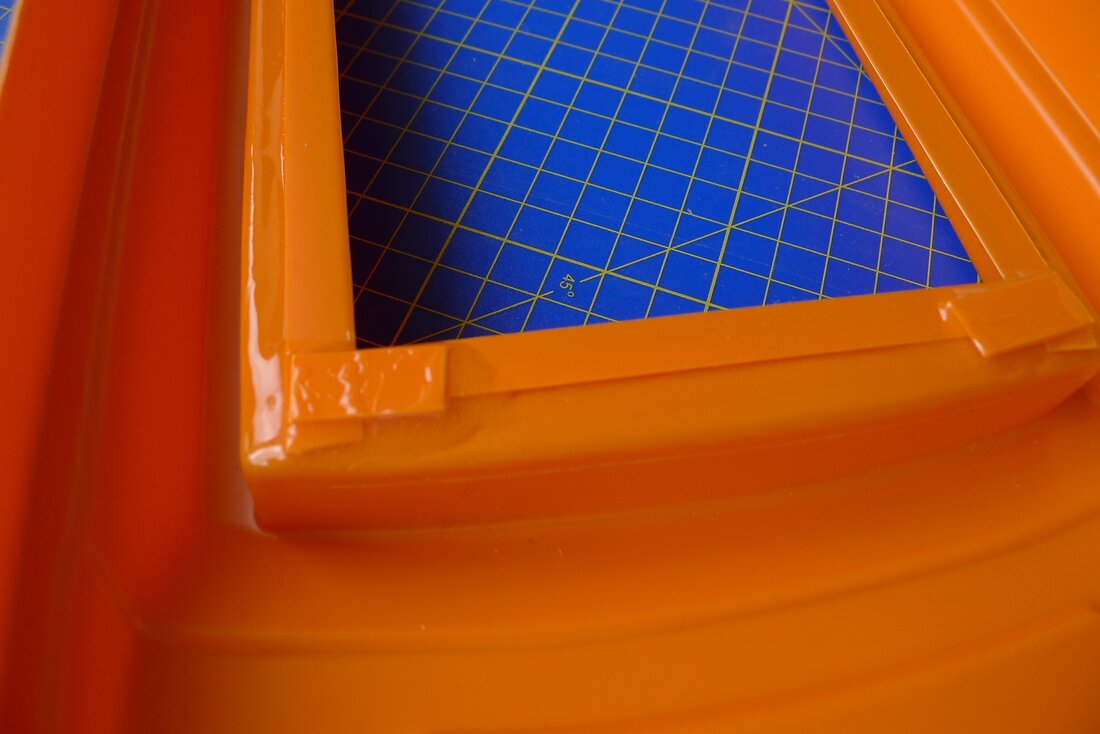
Probably the biggest job of building a Club 500 is fitting the deck to the hull. The first part is preparing the deck by trimming and sanding the lower edge and then deciding on how you want to arrange the opening. I rubbed the lower edge on a full sheet of sand paper, taped to a flat surface to ensure that it is perfectly square all around the lower edge. I would strongly recommend you create a hatch in the deck to allow full access for battery changes and maintenance but to also enable the hull to be sealed during a race. I cut out a rectangular opening and then fitted a support around the opening in the inside so that the 'hatch' has an edge to rest on.
When in use I then tape one edge of the hatch permanently and put insulation tape around the other three sides as I close up ready for the race. This can be time consuming between races but I prefer the insides to be completely watertight in case of an overturn and which is why I choose not to fit the receiver on/off switch on the external surface.

For the deck joint the instructions recommend Evo-Stick 'Nail and Seal', which might initially seem an odd choice however the joint is a very long one and there is a good wide contact surface between the two to enable a good level of grip. I found it extreemly challenging however to get everything together and hold while the glue acted as a lubricant and the parts simply would not remain together. I therefore cleaned all the glue off and held things together with masking tape before careful application of polystyrene cement. When this had set a larger quantity of cement was applied to the joint. I would also suggest at this point some form of buoyancy aid is fitted, simply to ensure the model does not sink in the event of an overturn. I have seen pong pong balls glued inside the hull, pieces of bubble wrap glued inside and even air filled packing materials. My own boats have a couple of pieces of expanded polystyrene inserted into the bow but ultimately anything will do that does not affect the performance but which ensures that you do not loose your boat. Once the deck is fitted the remaining parts, namely the cabin and the wing are a relatively straightforward job to trim and fit. The wing requires adhesive and can be fitted in either attitude, or even omitted, and the cabin can be fitted to the deck in any of a number of ways. I find the easiest to fit and the easiest to work with between races is exactly as suggested in the instructions. This is simply fitting a couple of plastic pins at the rear of the cabin, cut from supplied material in the kit and another plastic pin at the front to allow the flexibility of the cabin to enable it to be snapped in place very quickly and easily.

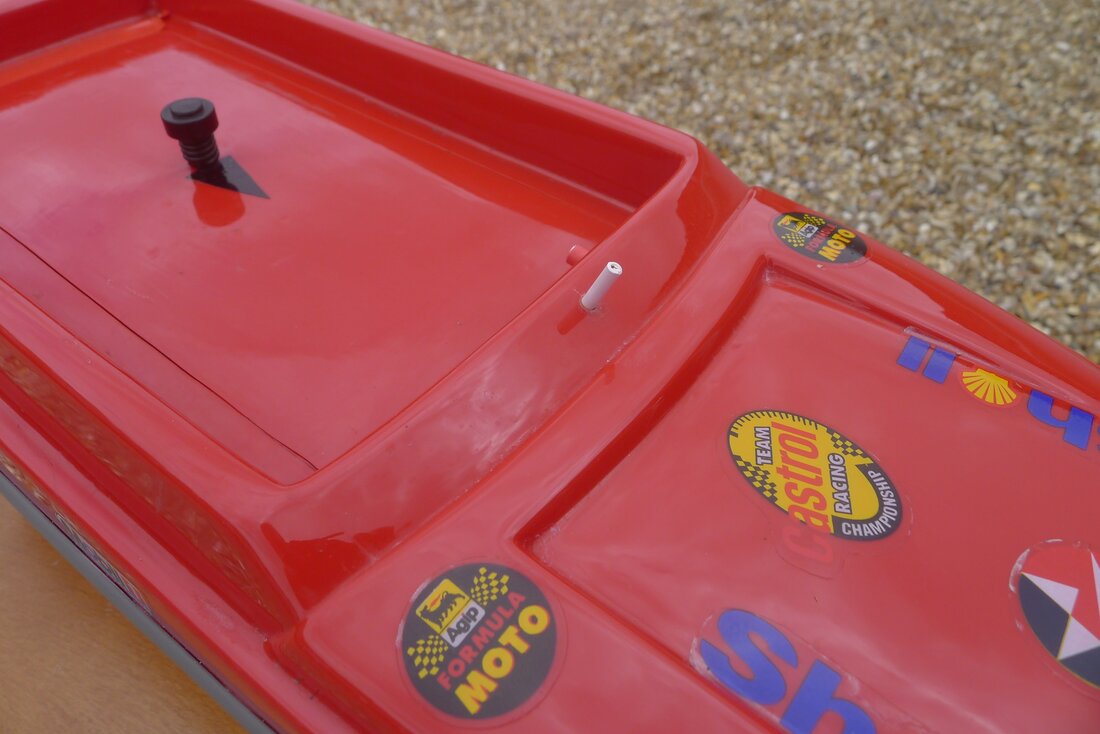
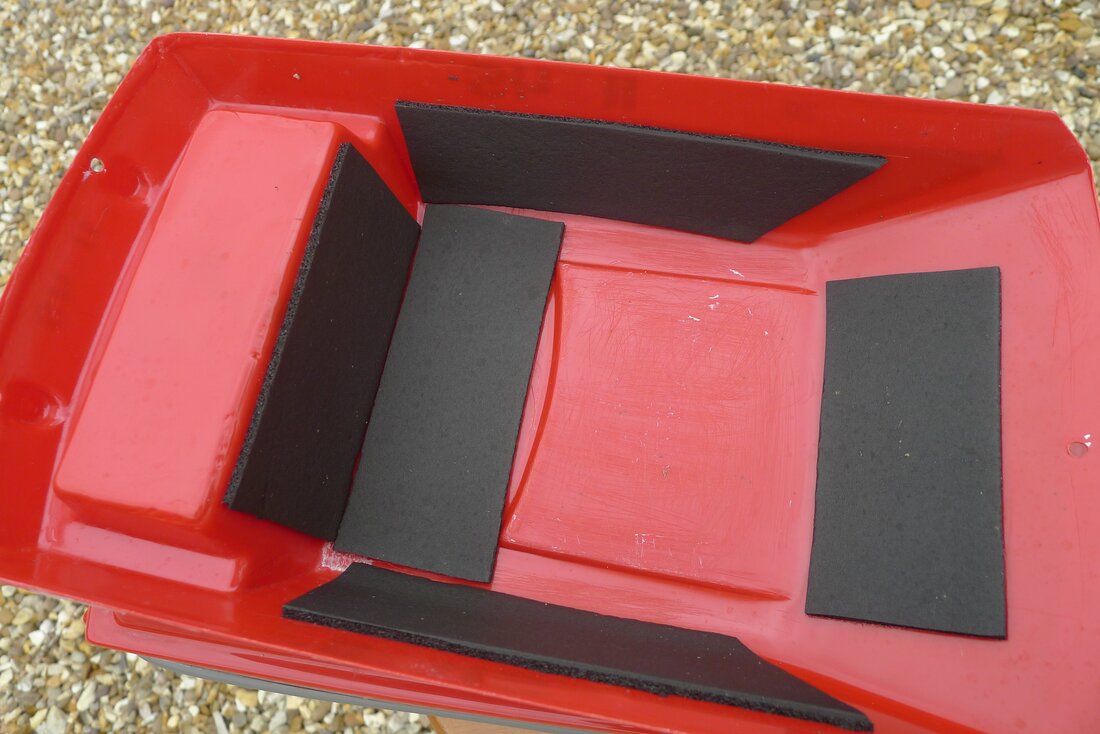
Should you be particularly unlucky and the cabin is knocked off your boat during a race you need to add some sort of floatation aid such as a piece of expanded polystyrene or, in my case, a couple of pieces of sticky backed closed cell foam tape to prevent it from sinking.
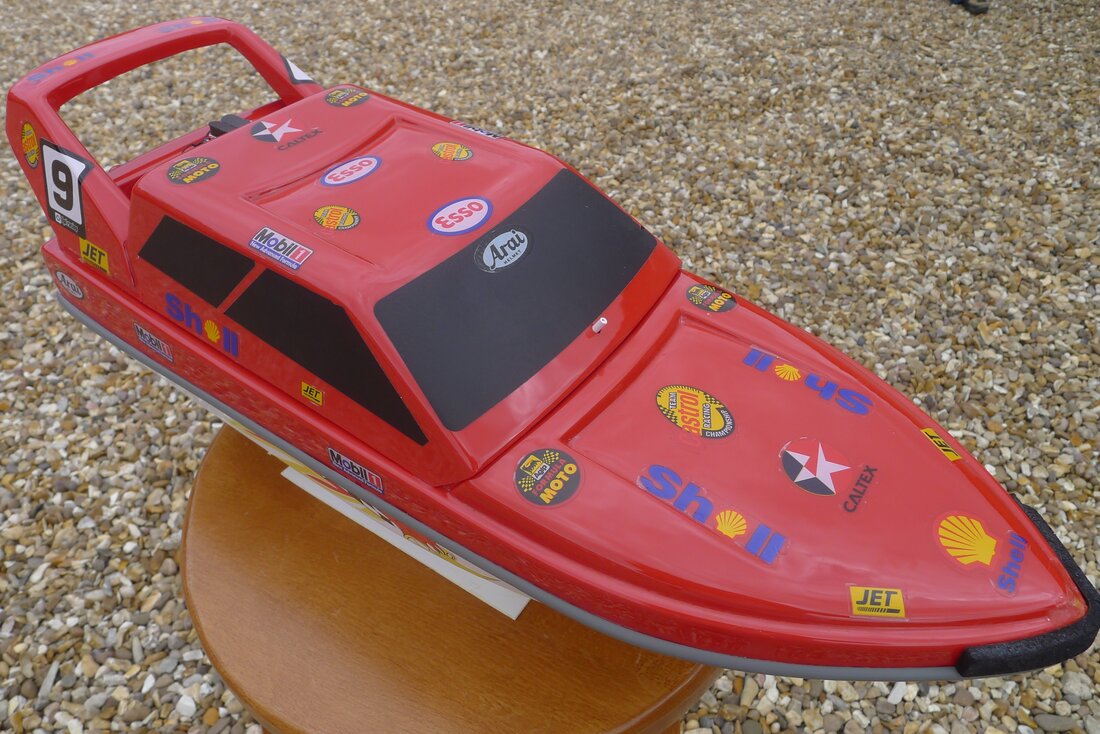
The remaining tasks are simply decoration and setting up. For the decoration you can start with the supplied stick on windows and then let your imagination go wild. After a couple of painted examples in the past I have now realised that colours are best remaining with the plastic base colour as paint invariably gets chipped and scratched but 1/10th scale model car stickers work perfectly to individualise your boat.
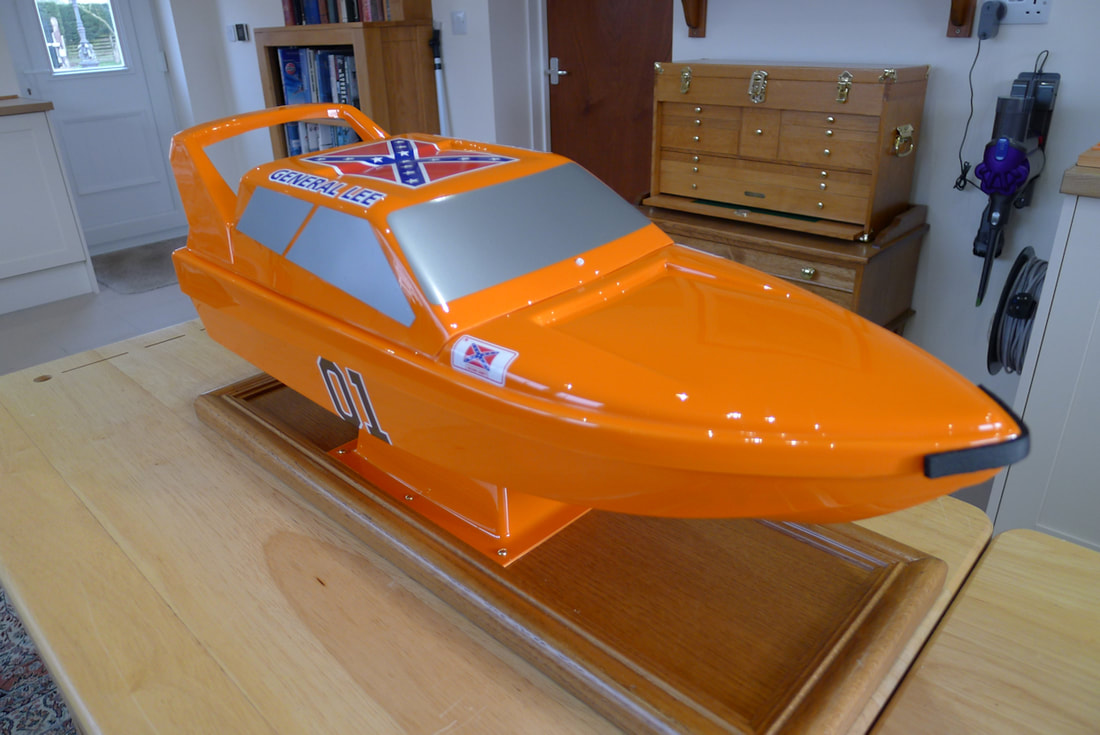
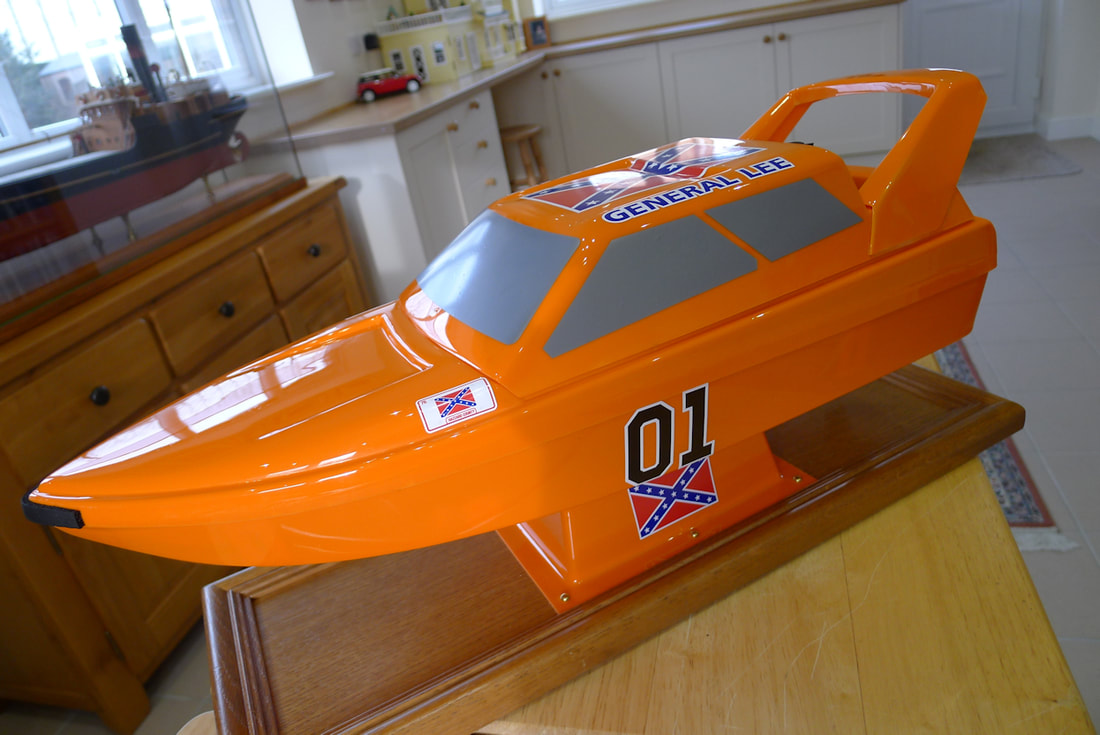
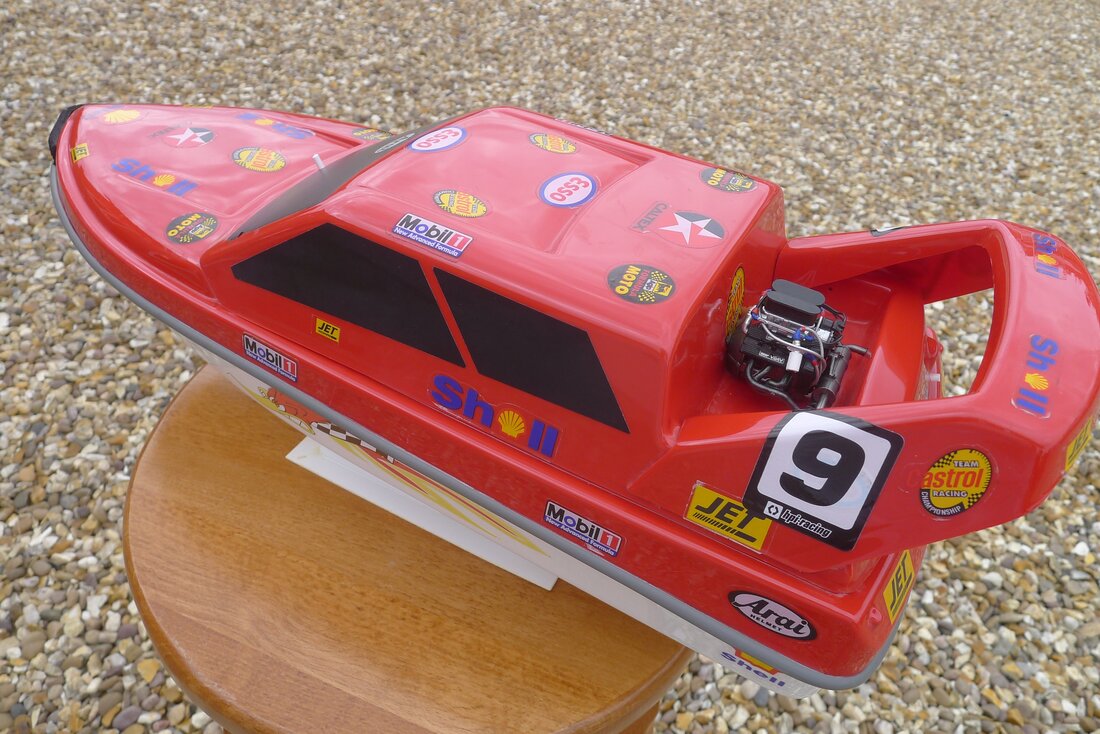
This is not just decoration, as all the boats enter the first corner around the buoy you need to be able to see your own model very clearly to help you steer through what may well be quite a hazardous path so you need fast and easy identification of your own boat and the direction it is going in! The rules also state that a piece of foam should be added to the bow to protect the other competitors from the occasional wayward course.
Setting up will be conducted mainly on the water however there will be one or two things to do on the workbench before you get there. The first job is to obviously test the radio is working OK so a range and function test would be the first thing to check when the battery is fitted and the boat turned on. Next up, if a solid state speed controller is fitted would be to set the limits on that and ensure the neutral position is with the stick centralised. My own speed controller does not have a reverse function so I only have the span to set from neutral to full ahead. I would then fill your stern tube with some light oil, if not already done, and take the boat down to a pond for a test run.

